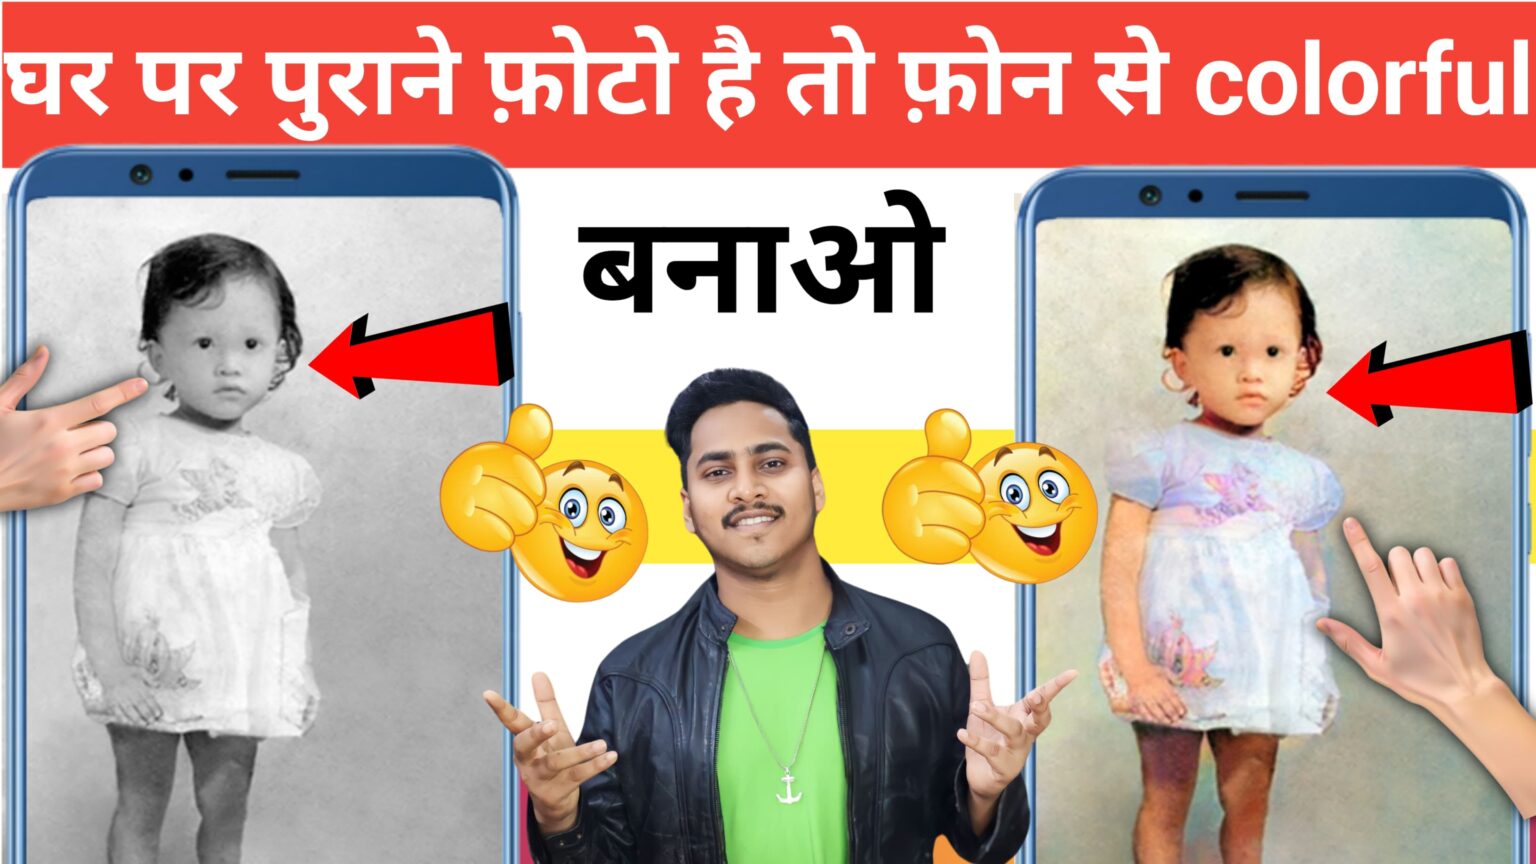
kisibhi photo ko rangin kaise karen
Aap kisibhi photo ko rangin karne ke liye photo editing software ka istemal kar sakte hain. Yeh software aapko photo ke colors, contrast, brightness, aur saturation ko adjust karne ki suvidha pradaan karte hain. Niche main kuch steps bata raha hoon jo aapko photo ko rangin karne mein madad karenge:
1. **Photo Editing Software Download Karein**: Sabse pehle, aapko apne computer ya mobile device ke liye kisi photo editing software ka chayan karna hoga. Kuch popular options hain:
– Adobe Photoshop (computer ke liye)
– Adobe Lightroom (computer ya mobile ke liye)
– Snapseed (mobile ke liye)
– PicsArt (mobile ke liye)
– GIMP (free open-source option, computer ke liye)
2. **Software Mein Photo Import Karein**: Software ko open karein aur apne photo ko import karein jise aap rangin karna chahte hain. Iske liye, usually “File” menu mein “Open” ya “Import” ka option hota hai.
3. **Color Adjustment Tools Ka Istemal Karein**: Photo editing software mein aksar color adjustment tools hote hain jinse aap colors ko adjust kar sakte hain. Kuch common tools shamil hai:
– **Brightness/Contrast**: Isse aap photo ke brightness aur contrast ko adjust kar sakte hain.
– **Saturation**: Isse aap photo ke colors ko vibrant aur intense bana sakte hain.
– **Hue/Saturation**: Isse aap specific colors ke hue aur saturation ko modify kar sakte hain.
– **Color Balance**: Isse aap shadows, midtones, aur highlights ke colors ko adjust kar sakte hain.
– **Levels/Curves**: Isse aap color levels aur tonal range ko adjust kar sakte hain.
4. **Selective Color Editing (Optional)**: Kuch software mein selective color editing ka option hota hai jisse aap specific colors ko select karke unke properties ko adjust kar sakte hain.
5. **Preview Karein Aur Save Karein**: Jab aap apne photo ko rangin kar lein, tab aap preview mode mein dekh sakte hain ki kaise wo dikhayi dega. Jab aap satisfied ho jaayein, tab aap apne edited photo ko save kar sakte hain.
Yeh kuch basic steps hain photo ko rangin karne ke liye. Har software ka interface aur tools alag hote hain, isliye aapko apne selected software ke documentation aur tutorials ko bhi refer karna chahiye.
Colorize Images – AI Colorizer App kya hai
“Colorize Images – AI Colorizer” ek prakar ka Android app hai jo aapko black and white ya grayscale images ko rangin banane mein madad karta hai. Yeh app artificial intelligence (AI) ka upyog karke images ko automatic taur par colorize karta hai, jisse aapke purane photos ko vibrant aur realistic colors ke saath transform kiya ja sakta hai.
Kuch mukhya features jo “Colorize Images – AI Colorizer” app pradaan karta hai, shamil hai:
1. **Automatic Colorization**: App ke madhyam se aap black and white ya grayscale images ko automatically colorize kar sakte hain. Iske liye aapko sirf apni desired image ko select karna hota hai aur app khud hi colors ko detect karke apply kar deta hai.
2. **Realistic Colors**: AI algorithms ka upyog karke, app realistic colors ka istemal karta hai jisse aapke colorized images natural aur vibrant dikhte hain.
3. **User-Friendly Interface**: App ka interface aam taur par user-friendly hota hai, jisse aap aasani se images ko select karke colorize kar sakte hain.
4. **Save and Share**: Colorized images ko app mein save karke aap unhe apne device par store kar sakte hain. Aur sath hi, aap unhe directly social media platforms ya messaging apps par share bhi kar sakte hain.
Yeh app un logo ke liye kaafi upyogi ho sakta hai jo apne purane black and white photos ko colorize karke unhe revive karna chahte hain. Lekin, dhyaan rahein ki is tarah ke apps ke istemal mein, kuch images ke colorization mein accuracy ka issue ho sakta hai, aur kuch complex images ka colorization accurate nahi ho sakta.
Colorize Images – AI Colorizer App ko kaise use karte hai
“Colorize Images – AI Colorizer” app ka upyog karne ke liye, neeche diye gaye kuch steps follow karein:
1. **App Install Karein**: Sabse pehle, Google Play Store se “Colorize Images – AI Colorizer” app ko apne Android device par download aur install karein. Install hone ke baad, app ko open karein.
2. **Image Select Karein**: App ko open karne ke baad, aapko colorize karna chahte hue black and white ya grayscale image ko select karna hoga. Iske liye, “Select Image” ya “Choose Image” option par tap karein.
3. **Image Processing**: Image select karne ke baad, app image ko process karega aur automatic taur par colors apply karega. Processing time image ki size aur complexity par nirbhar karta hai.
4. **Preview and Adjustments**: Jab image process ho jaaye, toh aapko colorized version preview kiya jayega. Agar aapko kisi specific area ka color adjust karna hai, toh aapko “Adjust Color” ya “Color Adjustment” option mil sakta hai.
5. **Save and Share**: Jab aap satisfied ho jaayein, toh aap colorized image ko apne device mein save kar sakte hain. Iske alawa, aap use directly social media platforms ya messaging apps par bhi share kar sakte hain.
Dhyaan rahein ki colorization process automatic hoti hai aur kuch cases mein accuracy ka issue ho sakta hai. Complex images ya images with intricate details ka colorization accuracy kam ho sakta hai. Isliye, aapko kuch images ko manually adjust karna pad sakta hai agar desired results na aayein.
Yeh kuch basic steps hain “Colorize Images – AI Colorizer” app ka upyog karne ke liye. Har app ka interface aur functionality alag hota hai, isliye aapko app ke documentation aur tutorials ko bhi refer karna chahiye.
App Download Link – 